Install HapticWeb Plugin
Get the plugin running in under a minute.
Requirements
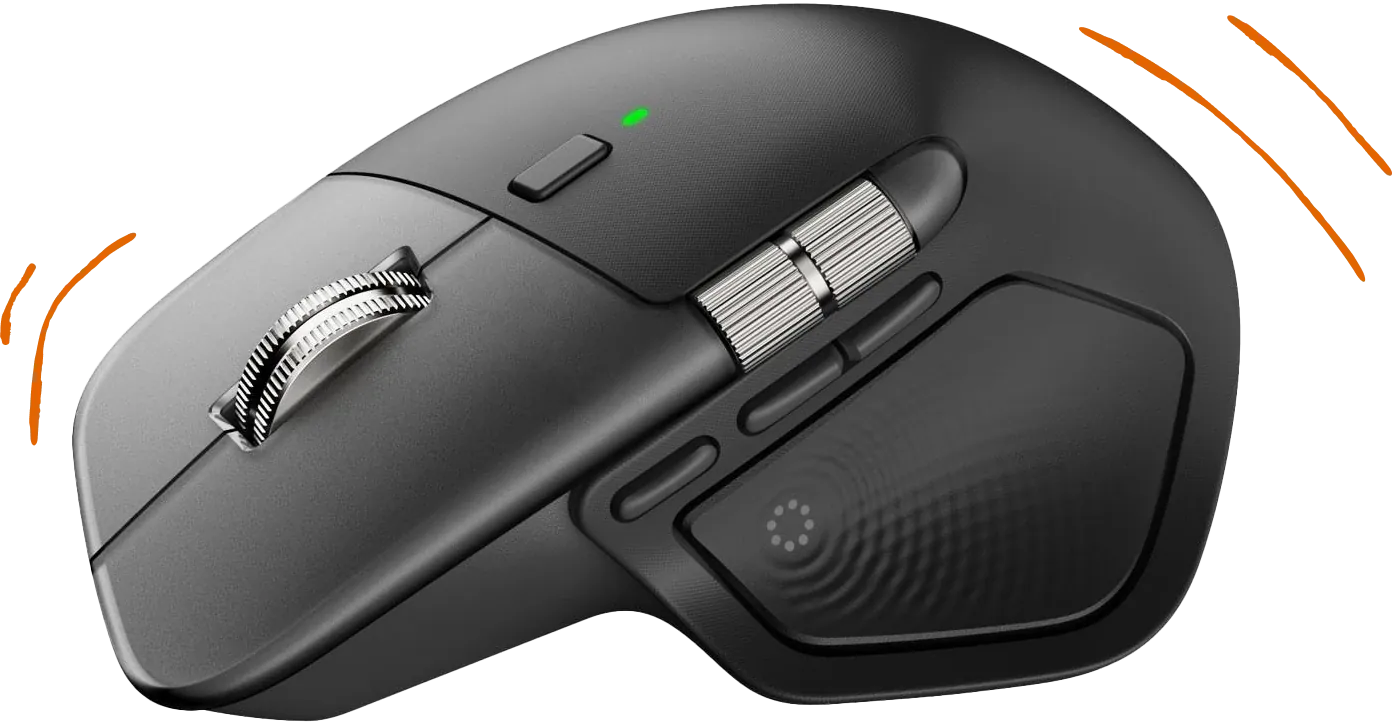
Logitech MX Master 4
The only mouse with controllable haptics via Actions SDK

Installation
Install from the Logitech Marketplace
Open Logi Options+, go to your MX Master 4's Haptic Feedback settings, and find HapticWeb in the marketplace.
Manual Installation
Open plugin management
Logi Options+ MX Master 4 Haptic Feedback Settings popover Install and Uninstall Plugins
Install the plugin
Double-click the downloaded HapticWeb.lplug4 file and click Continue in the dialog.
Done!
The server starts automatically at https://local.jmw.nz:41443/.
Test it on the Playground.
About local.jmw.nz
local.jmw.nz resolves to 127.0.0.1 (localhost).
The plugin uses this domain to serve HTTPS with a valid SSL certificate instead of self-signed certs that browsers reject. The certificate is automatically downloaded from GitHub, cached locally, and refreshed every 24 hours.
Troubleshooting
Certificate errors
- Check plugin status in Logi Options+ (should show green "Normal")
- Verify internet connection (initial certificate download requires network)
- Restart Logi Plugin Service
- Report an issue with plugin logs if the problem persists
Port already in use
If port 41443 is in use, stop other services using the port:
Then restart Logi Plugin Service.
WebSocket connection failed
- Verify the server is running:
curl https://local.jmw.nz:41443/ - Check browser console for errors
- Ensure you're using
wss://(notws://) - Verify
local.jmw.nzresolves to127.0.0.1